
My reusable clip-on name tag I’ve had for four years finally broke. My son melted chocolate on it and I cracked the seam while trying to wipe the chocolate out. I really don’t like the clip-on style it turns out so I decided I would make a lanyard hanging style. Even with a safety pin, the other badge would spin around a lot and get in the way. The lanyard style seemed easiest to work in at events and to carry and do things.
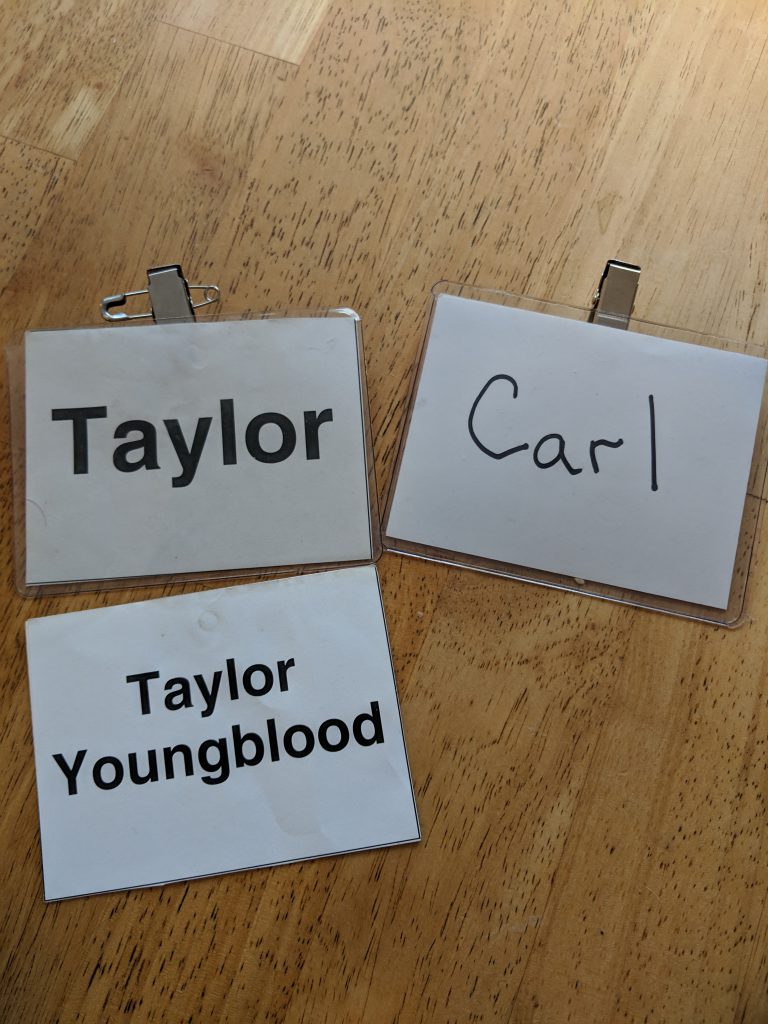
Photo: Two name bags with Taylor and Carl on them, and an extra paper insert with Taylor Youngblood on it.
I’ve been checking Austin Creative Reuse for several weeks for a name badge holder that I liked and would work and finally found two that are perfect. They have two holes at the top instead of a safety pin and they zip close which is a bonus. I never did see a thick lanyard let alone a purple one. If I had found another color I was going to sew two ribbons over it like a pocket to hide the original color, but there was none available. I bought the purple ribbon a few weeks earlier at Austin Creative Reuse.
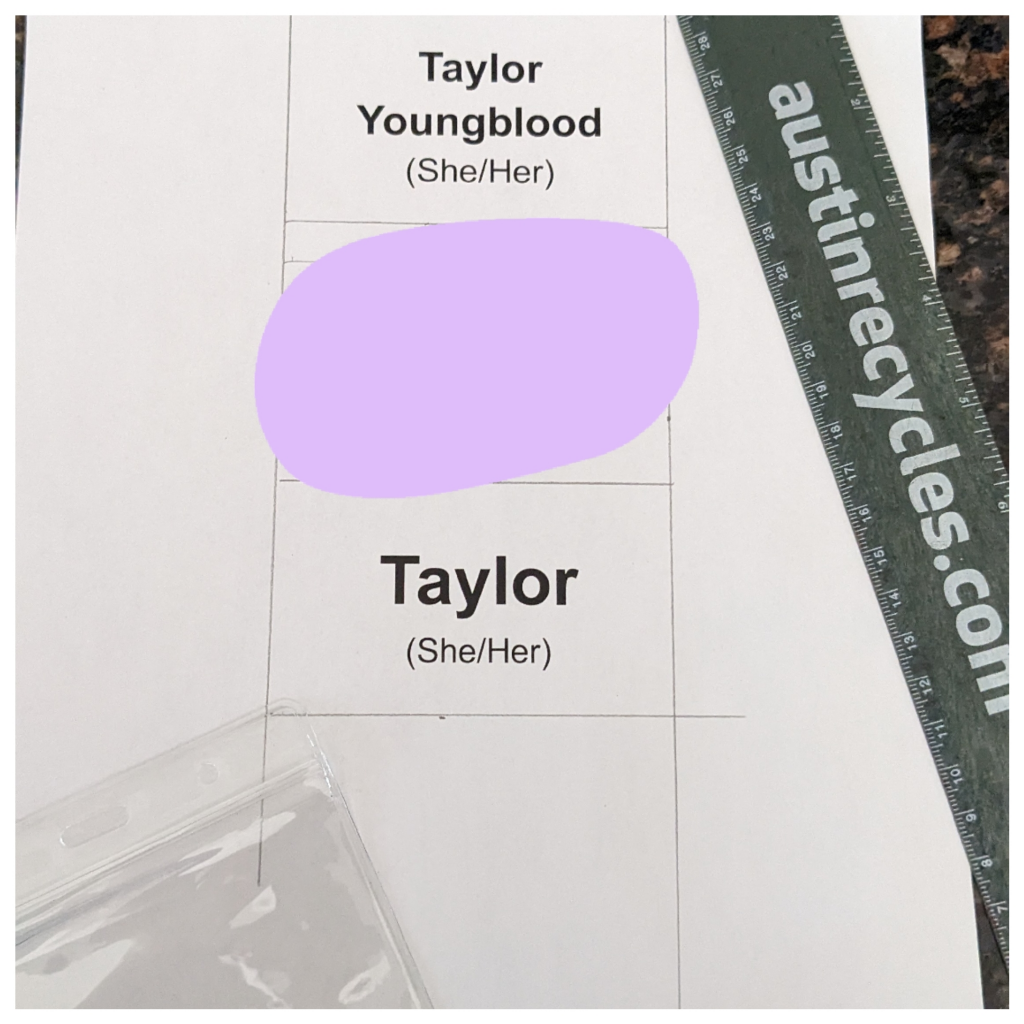
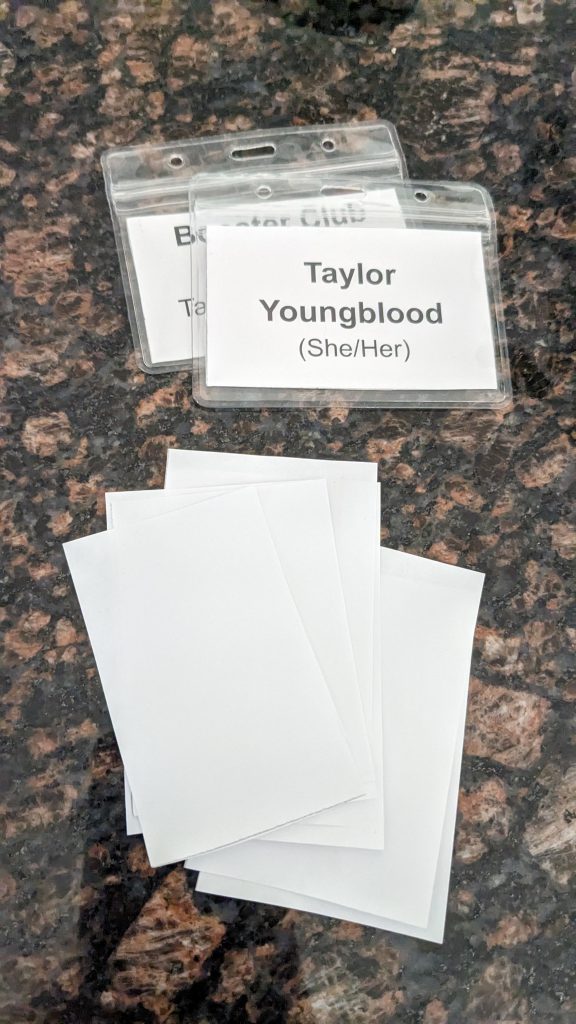
Photos: White names Taylor Youngblood (She/Her) and Taylor (She/Her) with a blurred purple spot in the middle penciled in on white paper. The cut out versions of the names tags are shown in two plastic name badge holders with extra paper slips.
I measured the inside of the holder to determine how big to cut paper inserts. Using the document ruler in Google Docs, I created several options in that parameter.
I recommend your first and last name, and just your first name, as well as any roles you have that may need name tags. Use Bold and a strong font to it’s easy to read. I hate it when organizers give you single-use nametags and a pen instead of a marker. Who can read pen from across a table?
I included my pronouns for inclusivity.
I will use the extra rectangles from the paper cut outs for shopping lists. Zero Waste right?!
I just did a rough placement of where I wanted the name tag to hang and cut the ribbon length to match with a bit extra for the sewing.
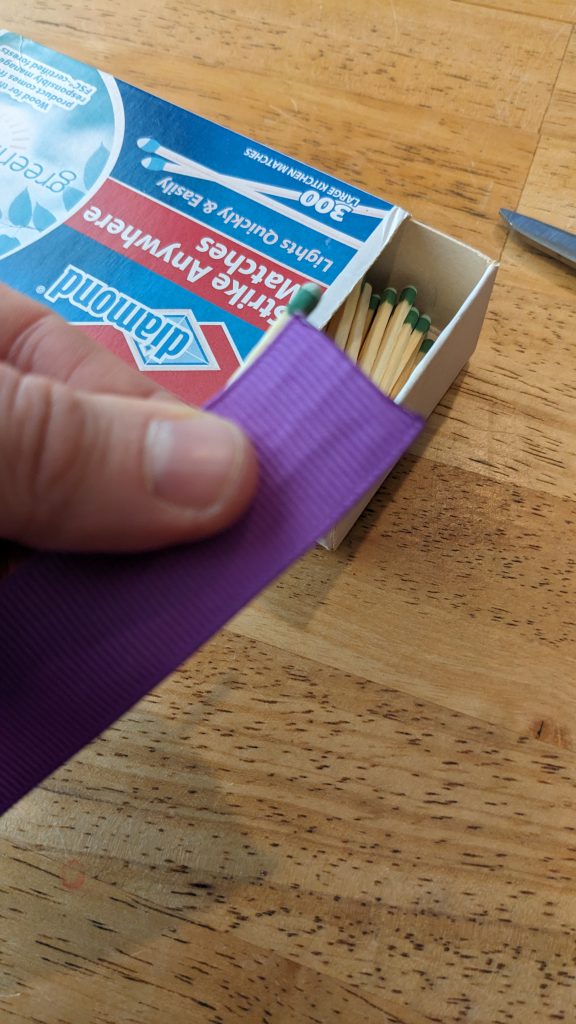
I burned the edges so they would not fray.
Then I just folded over the ribbon ends and sewed a straight line to create a pocket I could push the ring through and the loose leaf rings click shut so I just clicked it in place.
The loose leaf rings I already had from a Buy Nothing request. I ended up recycling that project. See Buy Nothing: Loose Leaf Ring.
Photo: purple ribbon with the edge burned in front of a large box of matches.
I am so pleased with how these turned out and they’ve been very comfortable. So comfortable I even walked into a restaurant last week with mine still on after church! Another church member asked me to make her one too.
I will say that lanyards are easier for most people to use; they are for me. If you think about ableism, for example I have a lot of seniors at my church, it may be hard or impossible for many people to manipulate clips or safety pins so string or lanyard options are going to more accessible.
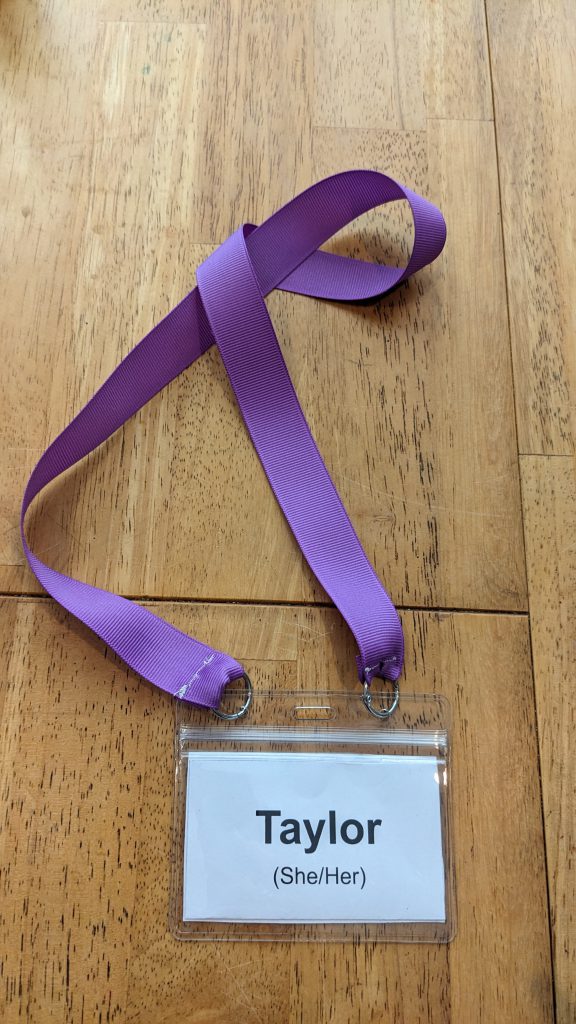
Photo: a purple ribbon handmade lanyard on silver rings with a nametag that reads Taylor (She/Her) on an oak-colored table.
It breaks my heart every time I go to an event, even an allegedly zero waste one, and see all the single use name tags. It’s especially discouraging and wasteful to see at places and organizations that have recurring events or classes with the same attendees. I think if everyone had the opportunity to make or be given their own reusable nametag, they could use them for everything. Nametags really do help learn and remember new names.
You may also like:
What’s in a name, name tag that is?
#nametag #namebadge #reusable #reuse #diy #creativereuse #ableism #lesslandfill #church #events #classes #conferences #zerowaste