I’ve shared before on how to think of different ways to use picture frames. In a previous post I talked about how I turned a standard picture frame purchased at the craft store into a white board/dry erase board.

The need for the white board went away. How my husband was brainstorming changed so the board turned into a quote board for me. I really liked using it for quotes and scripture, but dry erase markers are not refillable and difficult to recycle so I didn’t want to continue using the board in that way. I’ve struggled with how best to work with prayer requests so I thought a prayer board would be good to try.
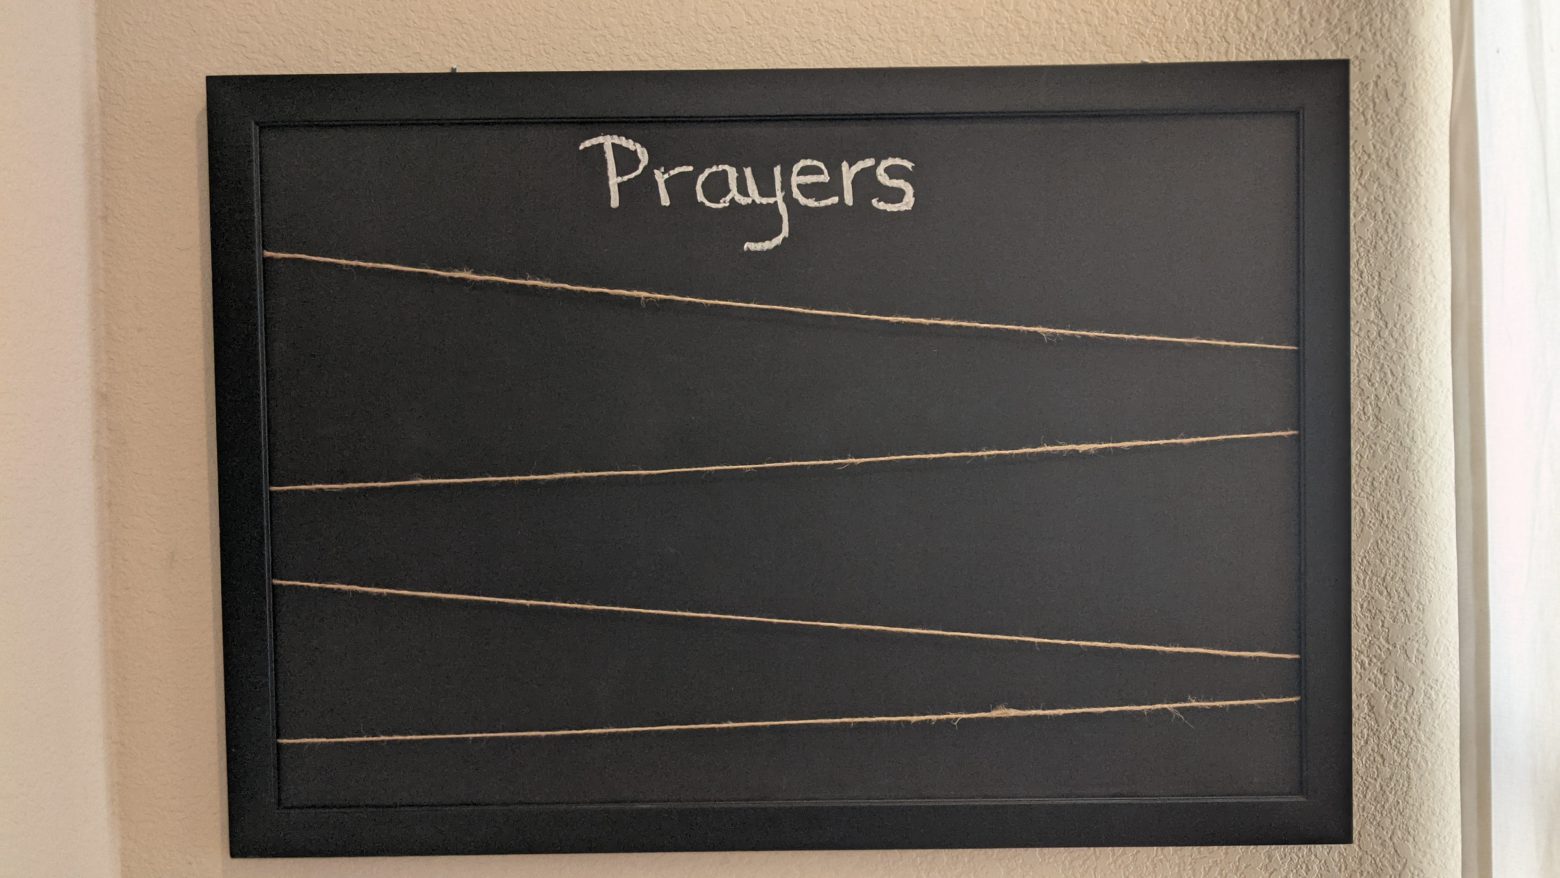
Craft Board/Prayer Board


My original intention was to use a screwdriver to gently poke the string into the picture frame crevice above the glass. There was enough room to do that. However, in the process of reconfiguring all the pieces and cleaning the glass, I managed to break the glass. It was actually a good thing. So I wrapped that up well and put it in the trash (my city service does not recycle broken glass), and then I taped the string to the back of the poster board at interesting angles. I wet a piece of white chalk since the writing shows up clearer and wrote “Prayer” on the board. If you have never wet chalk to write, it produces a smooth and lovely line. It will look too light at first, but let it dry and it will thicken and darken. It’s weird, but it looks great. Maybe test a pieces of paper in a similar color if it’s your first time. Your family name, event, or purpose would also work well if you want a title on your board.

I cut up cardstock I had into small pieces and used mini binder clips to attach the cards. If I need to want to save them, I have them. They also don’t smudge like dry erase and don’t fall off like sticky notes. I repurposed a Sunday school craft crown as a decoration as an after thought. I think it looks great here. The prayer board is in my dining room. I don’t have a lot of people over to worry about possible privacy concerns so what is on the cards doesn’t matter much in that regard, but if we get to a point where I can begin having people over safely I did list only first names on the cards, goals or ministries. If I thought I may not remember the request with only a name, I added more info on the back. I encourage you to shop your office, garage, shed and craft supplies first. I had all of this already. Also, ask your friends, family, neighbors, Buy Nothing group and Nextdoor for what you might need like binder clips, paper clips, string, and rubber bands. There are enough clips in the world that we should not have to buy new, we just need to get them to those who need them. Pardon the rant, former office worker and contract administrator pet peeve here that dovetails nicely with zero waste.
This idea would also work well with a smaller frame. You could also create a small dry erase prayer board. Picture frames are easy to find second hand and quick to paint. You can sand them down, use filler putty, and even Target sells craft paint now if you want a particular color you can’t find second hand. Check the internet for instructions on how to do all of that, I don’t have real-world experience, and also for different ideas for how to display and layout your prayer board. This craft would work well for a picture collage, holiday or event cards, maybe a great idea for a retirement present and party display/activity for the attendees.
Cost: nothing as all materials I already had and a lot of it was gifted: chalk – gift, string – gift, binder clips – Buy Nothing, crown – teaching Sunday school, cardstock and frame – previous purchase and different use
Replace the image
Another idea is to change your frame’s contents. Even if you have or find a custom frame with a sealed paper back, you can replace the image. I had two darker images that were in my son’s room, holdovers from when that was a guest room. I’m transitioning the room into lighter colors and things he’s interested in. I wasn’t ready to paint the frames, sell them to find new ones, or change the mat on the custom frame, etc. but what I was ready to do was replace the images.
I did not go about this in a very exact, 100% perfect way. I measured the area that would be exposed, the part of the poster I would see, and I searched for posters in themes he liked. Honestly, I was trying to find one Octonauts and one Bluey poster; however they don’t exist as officially licensed products and no one had what I wanted on Etsy, which I like to use to support small businesses and for it’s creative content. Redbubble did have Octonauts posters in the size and orientation I needed so I purchased through them.


You’ll see the before and after here. The first is a custom frame with green mat and I was hoping to flip the mat and use the reverse white side around the poster; however the mat had pencil on it from where the framer marked and I wasn’t confident I could erase that sufficiently so I just left it as is. I’m not ready to rehome the posters (and no one wanted the farm poster on a previous Buy Nothing attempt), so I actually have the new posters laying on top of the original posters. The poster in the green mat is just shy of fitting so there is a very thin line showing the original poster. A perfectionist would be annoyed but the frame is up high enough none of us care. On the second frame, I actually used the original frame paper(that says the frame’s size) underneath the poster to give me a white background. My son is so happy with the results, and he helped so it made it even more fun.
If you are worried about working with a custom frame, it’s not hard. Here are some example photos:


I gently cut the paper backing off so I could re-tape it, just in case. I did not want to move the hardware at all for structural integrity so I pulled the paper out underneath the wire. I’ve had enough frames fall off walls due to hardware issues, I know how to install the wall hardware properly, I don’t touch hanging hardware if I can help it. There may be little metal taps hold the artwork in place, just use a thin flathead screwdriver to gently bend it up so you can get the art out and then gently push them flat again when you are done. They may come out and can be gently tapped back into their slot.
Tip: If your frames don’t hang straight despite your best attempts, adding a gel or felt bit to one of the corners may help hold the frame in place. That’s what the gel little circle is doing that you see in the last picture.
Cost: $40 for two posters
I hope you found this helpful. I see so many frames at second hand stores, and they get quite beat up in the transit there and in being put on display. I hope knowing you can sand and paint or stain them will give many of these new life. There are local glass cutters who can create new glass pieces for you if you have everything else, and some crafts stores have precut sizes for this purpose.
You may also like: